
Setting up ssh-key authentication is a task that many people have an issue with. I’ve been using key-based authentication for years, but it seems easier than ever these days.
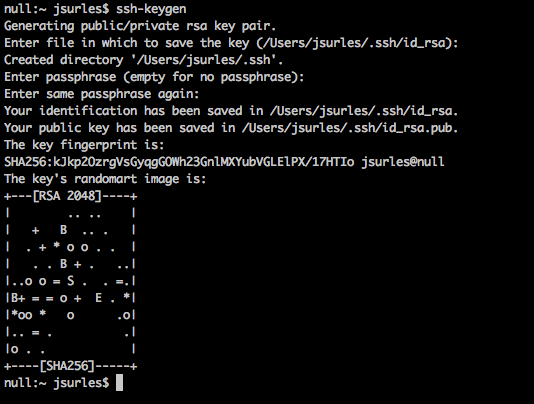
First you need to generate your private/public key pair on the machine you want to SSH from. You do this by running:
ssh-keygen
Just follow the prompts, if you don’t know, just keep hitting enter. When choosing your passphrase, it’s a good idea to use an actual phrase for security. However, let’s be honest, most people set this up so that they can automate connections without getting asked for a password. So just hit [ENTER] each time it asks for the passphrase.
See how easy that was? Now, here’s the best part, it gets even easier. The tricky part used to be getting it setup on the host you wanted to connect to. That is no longer an issue with the ssh-copy-id command.
ssh-copy-id user@host

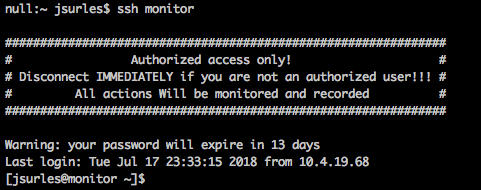
Now you can just ssh to the “monitor” server, no questions asked. 🙂
There you go.. ssh key authentication is complete!
Now we all know that when it works, it works.. but when it doesn’t.. oh boy. I think everyone should understand the basics of what is happening.
When you generate the key pair you are creating a “public” key (id_rsa.pub), and a “private” key (id_rsa). The idea is that you share your public key with machines you want to be able to connect to. This is generally stored in the authorized_keys file located in the users’ home directory in a subdirectory .ssh. The full path would go something like /home/jsurles/.ssh/authorized_keys.
Then when you make an ssh connection, it attempts to authenticate using your private key to identify you, and the destination server does magic to make sure the public and private keys match.
Voila.. I hope this was helpful to someone!
